Printing and Print Preview (F3 and  )
)

Contents
Print settings are in the main Controller:
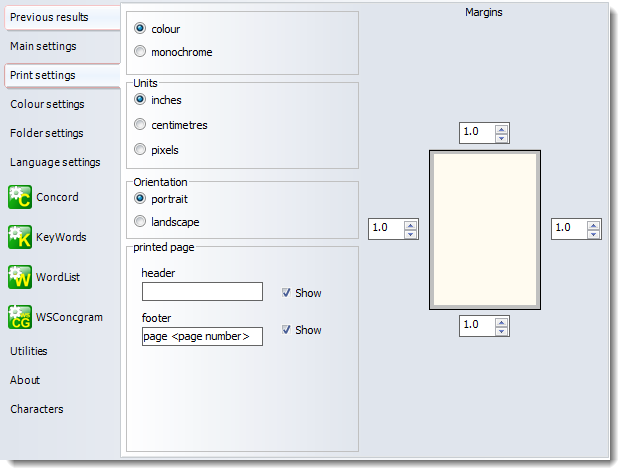
If you set printing to monochrome, your printer will use italics or bold type for any columns using other than the current "plain text" colour. Otherwise it will print in colour on a colour printer, or in shades of grey if the printer can do grey shading. You can also change the units, adjust orientation (portrait |
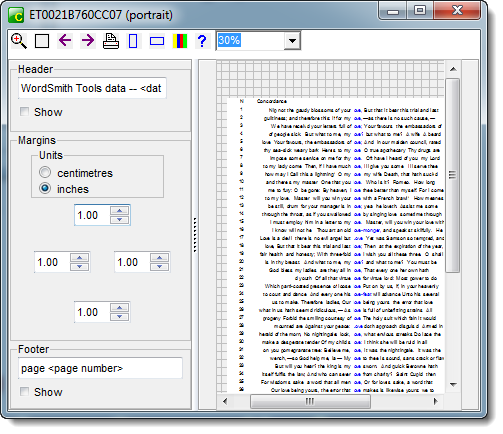
When you choose a print or print preview menu item in a Tool, you'll be taken by default to a print preview, which shows you what the current page of data looks like, and from which you can print.
Bigger and Smaller
Zoom to 100% (![]() ) or fit to page (
) or fit to page (![]() ), or choose a view in the list. The display here works in exactly the same way as the printing to paper. Any slight differences between what you see and what you get are due to font differences.
), or choose a view in the list. The display here works in exactly the same way as the printing to paper. Any slight differences between what you see and what you get are due to font differences.
You can also pull the whole print preview window larger or smaller.
Next (![]() ) & Last (
) & Last (![]() ) Page
) Page
Takes you forward or back a page.
Portrait (![]() ) or Landscape (
) or Landscape (![]() )?
)?
Sets printing to the page shape you want.
Header, Footer, Margins
You can type a header & footer to appear on each page. Press Show if you want them included. If you include <date> this will put today's date and <page number> does the numbering. Margins are altered by clicking the numbers -- you will see the effect in the print previews space at the right.
Print (![]() )
)
This calls up the standard Windows printer page and by default sets it to print the current page. You can choose other pages in this standard dialogue box if you want.
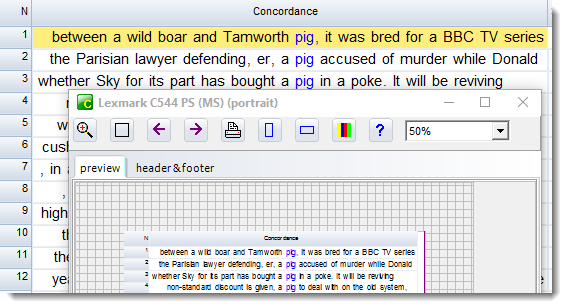
Some columns of data not shown
A case like this showing nothing but the line numbers
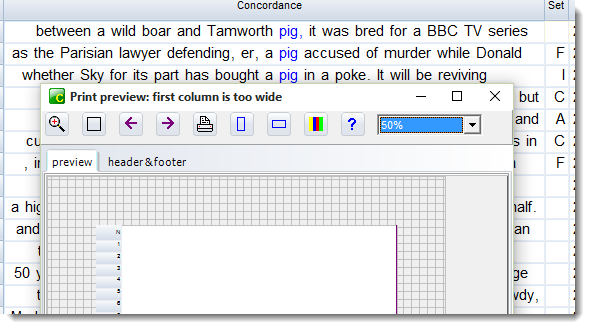
is because you have pulled the concordance data too wide for the paper. WordSmith prints only any columns of data which are going to fit. Shrink the column, hide any unwanted ones, or else set the print surface to landscape.
See also: Printer Settings